

Did you know we can make fuel out of our own food waste, grass clippings, and really, well anything that’s organic?
I went to a CFI workshop in early April 2017 that taught us how to create fuel from waste we would otherwise throw away. Kyle and Erin from Squeaky Duck Farm were kind enough to host and lead this workshop.
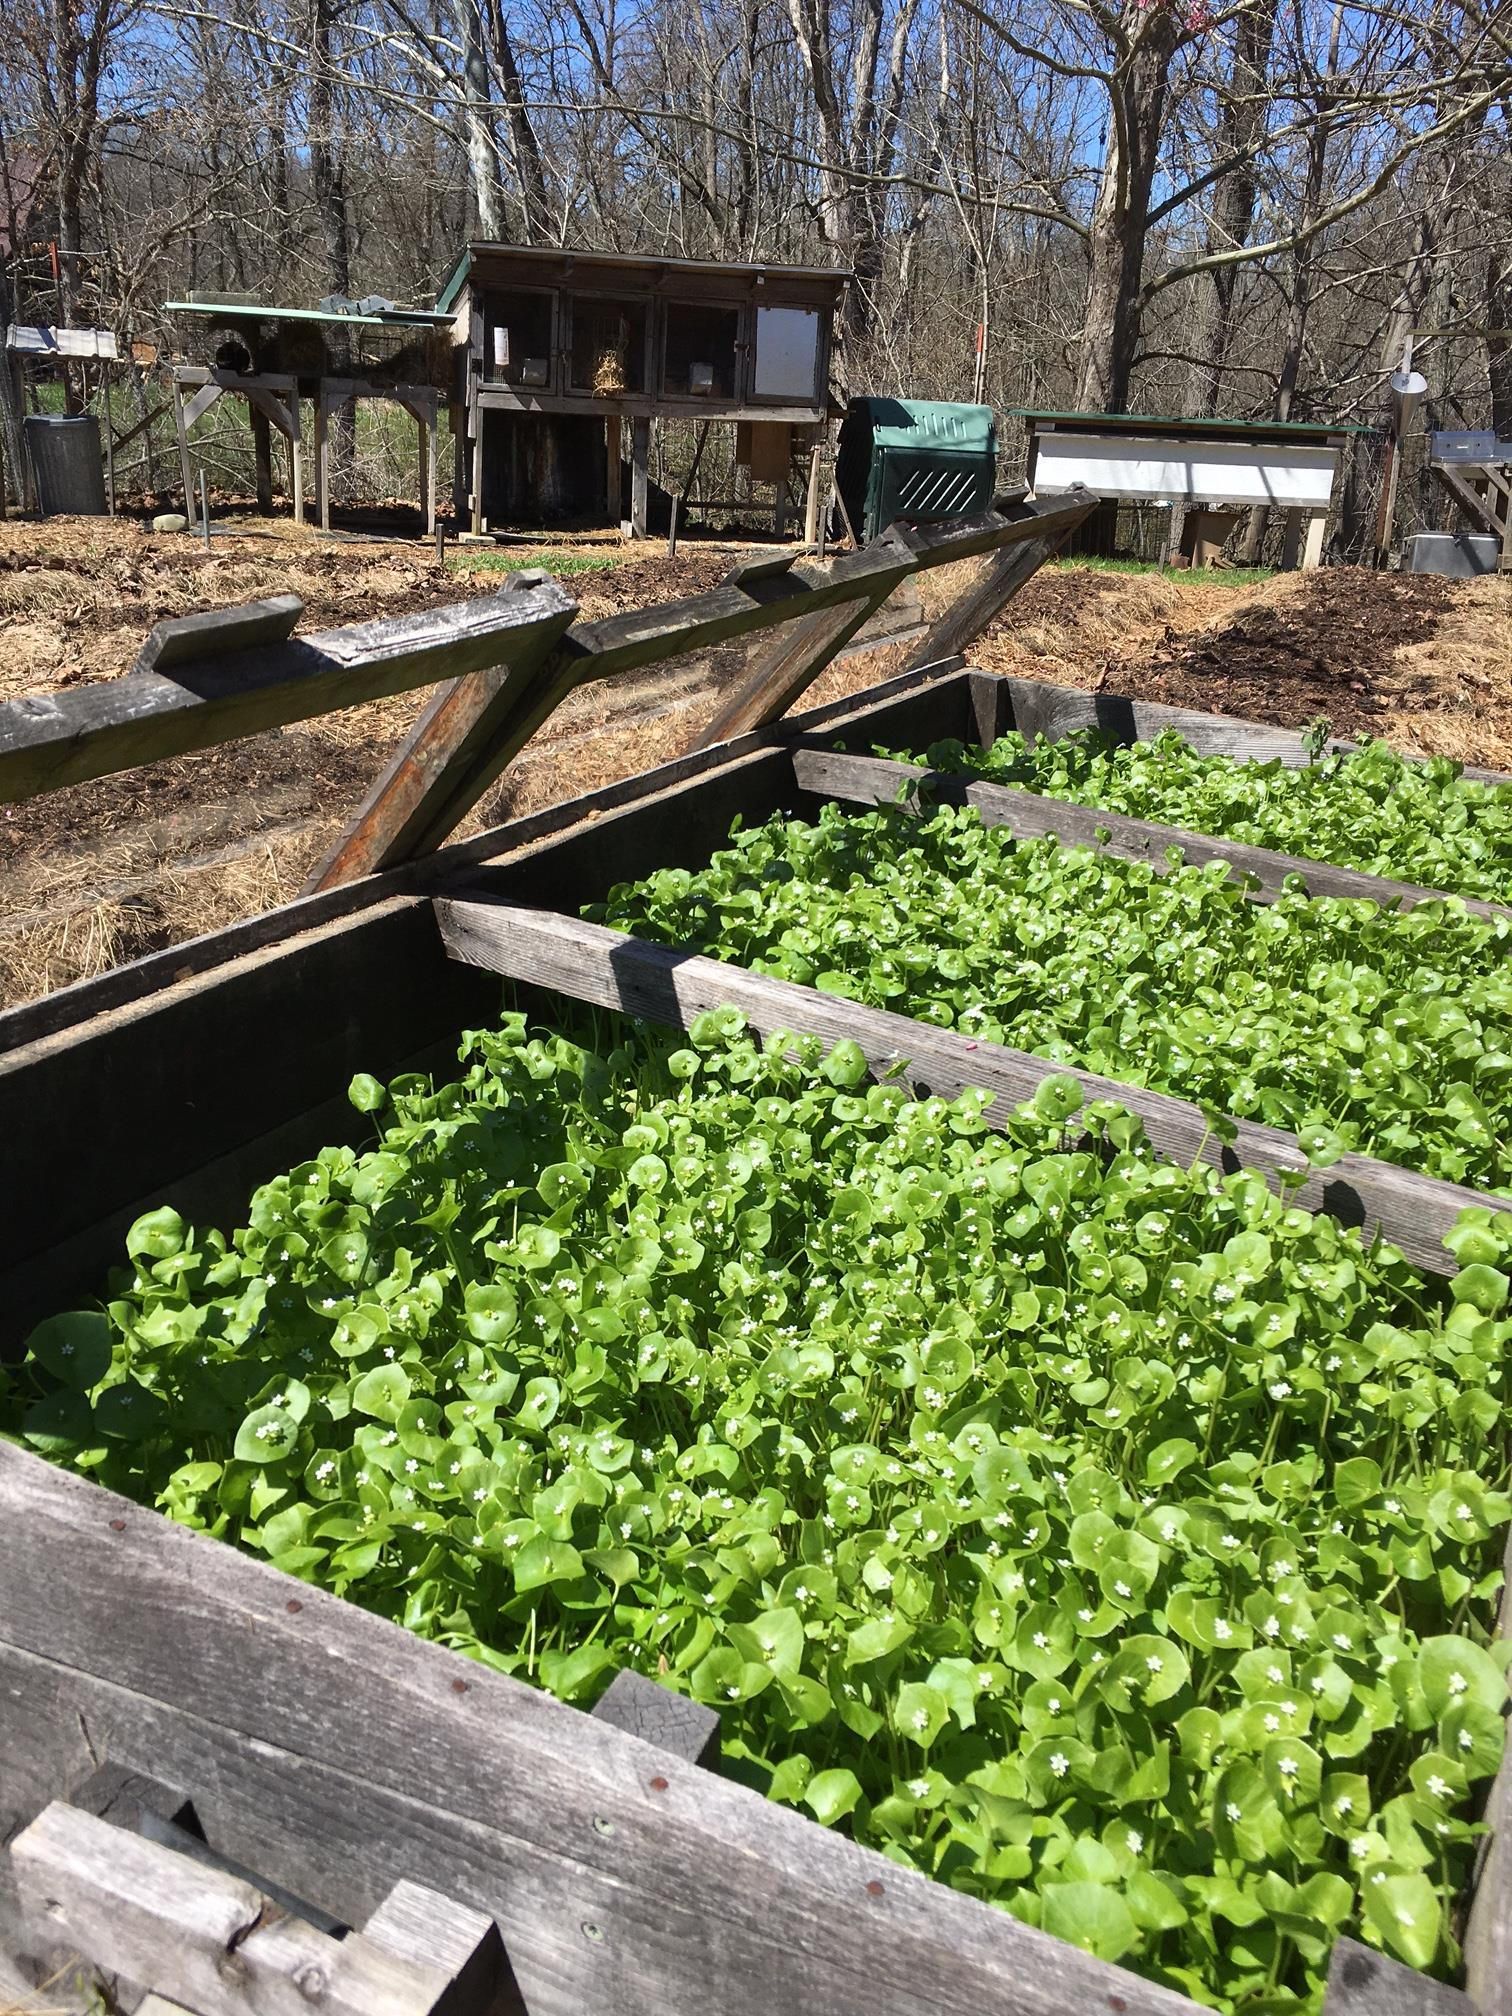
Before the workshop, Kyle and Erin introduced us to their chickens and bunnies, giving us a quick tour of the food they are growing, as well. Kyle swept their friendliest and most social chicken out of the coop; Janice and I held her for a few minutes while we waited for the others to arrive.
Back to the biofuel...

We watched a quick video on making a biofuel chamber, and before we knew it Kyle and Erin showed us how to make one in their backyard!
Gas created from plastic barrels can actually be used to create fuel. Kyle explained that you can convert a propane stove—think a camping stove—to be used for biofuel. To convert the stove, you have to take out the pressure regulator because gas from biofuel is not under the same amount of pressure as propane. Kyle and Erin hooked up the hose leading from the bag of gas in the plastic barrel to the propane stove. Even if you don’t have a burner, you can hook up the hose to a metal can, like a coffee can. After hooking up the gas to the propane stove, Kyle lit it with a match. It was pretty impressive to see the stove lit and to know that the fuel was made all from biodegradable materials!
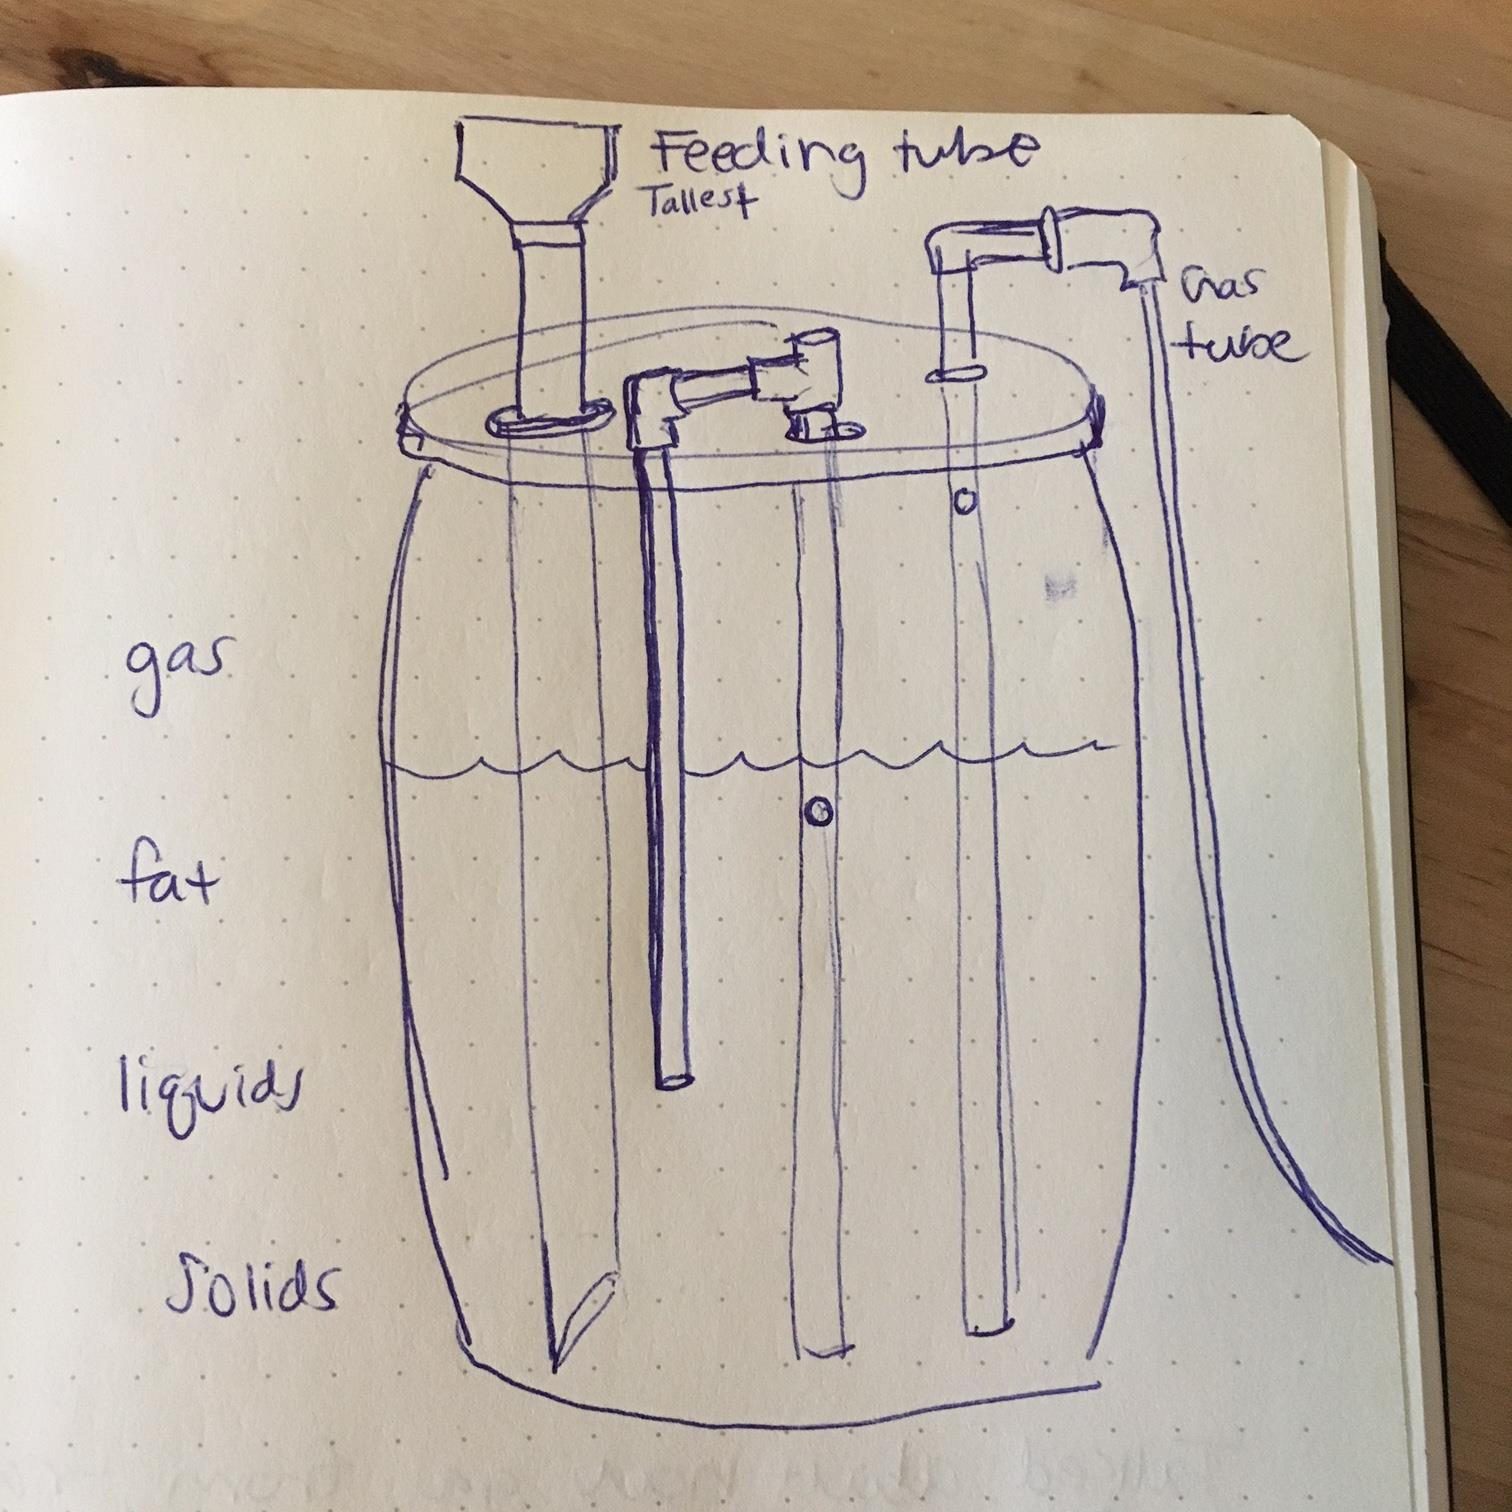
To make a biofuel chamber, you need a barrel or plastic container that is airtight. You will insert three pipes, cut to different lengths and with different holes/openings. After you drill holes in the top of the plastic container, cut the ‘feeding’ pipe at a 45-degree angle. (This tube needs to be bigger than the other two tubes.) Sand the edges of the pipe so that you don’t rip the uniseal when you put the pipes through. Remember: You want the barrel to be airtight.
When Kyle cut the first pipe, he turned to a saw behind him and sliced it. He almost seemed a bit bashful about cutting the pipe with an electric saw, admitting that “I usually don’t use fossil energy to cut the pipes.” He then brought out a small Japanese saw—maybe 18” long—with razor edged teeth. He used this second saw to cut the other pipes, in order to make a gas tube (a hole drilled near the top) and a tube to release the liquid (a hole in the middle of the tube).
Kyle cautioned us that the weather outside needs to get above 50 degrees Fahrenheit, in order to get the biofuel container to produce enough gas to use. Erin and Kyle used two bags of gas and it lasted them all of last summer!
You can store the gas in air mattresses, an inner tube, a tractor tube, or in pillow tanks. The biofuel smells lightly of methane when you open the feeding tube to put organic materials through. You can minimize the smell by putting vegetable oil or citronella down the feeding tube.
The trick for making methane is to keep air and light out. The microbiomes that grow in the barrel love heat and hate oxygen. Think of the barrels that create the biogas as like a stomach. Kyle warned that the barrel can get “indigestion” if you overfill it. This indigestion can also happen if you feed it too much grain and sugar.
Jokingly, I asked if you could feed it a ‘Tums’ – Kyle responded that actually you can feed it calcium, such as eggshells and baking soda, to help it get ‘better’ faster. Or just let it sit and it will sort itself out.
It was wild to believe that all homes could be making their own fuel from things we are already throwing away. At one point, Erin said, “We definitely want to get the word out that this is that easy.”
Yes! Thanks for sharing your knowledge with us Kyle and Erin!